


When it comes to enhancing the versatility of your Toyota SUV, installing a roof rack is an excellent investment. These racks not only provide additional storage space for outdoor adventures, but they also allow you to transport various gear, from bicycles to kayaks, securely and conveniently. Understanding the installation process is crucial to ensure that your roof rack is mounted correctly, maximizing its effectiveness while maintaining vehicle safety.
Choosing the right roof rack depends on your specific needs and the model of your Toyota SUV. There are numerous options available, each designed to support different types of equipment and varying weights. This guide will walk you through the essential steps of selecting, installing, and maintaining your roof rack, providing a comprehensive overview to help you make informed decisions.
With a properly installed roof rack, you can transform your Toyota SUV into the ultimate adventure vehicle. Whether you’re planning a weekend camping trip or a long-distance road journey, having the ability to carry extra gear on your roof opens up a world of possibilities. Follow our detailed instructions to ensure a successful installation and enjoy the benefits of increased cargo capacity.
Selecting the Right Roof Rack for Your Toyota SUV

Choosing the appropriate roof rack for your Toyota SUV is essential to ensure safety, functionality, and compatibility with your vehicle’s design. Consider these key factors when making your selection.
1. Vehicle Compatibility: Verify that the roof rack is specifically designed for your Toyota SUV model. Manufacturer specifications will provide details on weight limits and attachment points. Generic racks may not fit securely.
2. Load Capacity: Assess the weight capacity required for your intended use. Roof racks can support different amounts of weight, so ensure that the rack can handle all your gear, from bicycles to luggage. Also, consider the combined weight of the rack and the load.
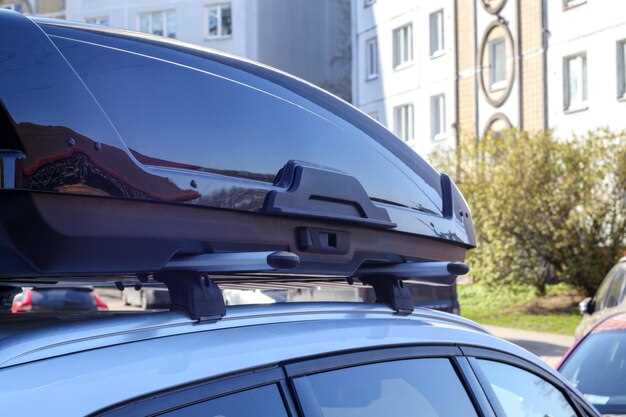
3. Rack Type: There are various types of roof racks, including crossbars, cargo boxes, and specialty racks for specific gear such as kayaks or bicycles. Determine which type best suits your needs.
4. Mounting System: Examine how the rack mounts to your vehicle. Options include clamp-on systems, fixed point systems, or wilderness-style mounts. Choose a mounting system that offers stability and ease of installation.
5. Material and Durability: Look for racks made from high-quality materials such as aluminum or steel, which ensure durability and resistance to corrosion. A well-constructed rack will withstand the elements and heavy use over time.
6. Aerodynamics: Aerodynamically designed roofs reduce wind resistance and noise. Selecting a rack that minimizes drag will improve fuel efficiency and provide a quieter ride.
7. Price and Warranty: Compare prices among different brands, but remember that a higher price often reflects better materials and design. Additionally, consider the warranty, as a longer warranty period can provide peace of mind regarding quality.
By taking these factors into account, you can confidently select the right roof rack for your Toyota SUV, ensuring that it meets your needs and enhances your driving experience.
Step-by-Step Installation Process for Roof Racks
Installing a roof rack on your SUV can greatly enhance its utility by providing additional storage space for outdoor gear and other items. Follow these detailed steps to ensure a successful installation.
Step 1: Gather Your Tools and Materials
Before starting the installation, collect all necessary tools and materials. You will typically need a roof rack kit compatible with your SUV, a ratchet set, a measuring tape, and possibly a level to ensure everything is aligned correctly.
Step 2: Prepare the Roof
Clean the roof of your SUV thoroughly to remove any dirt or debris. This step is crucial as it helps prevent scratches and ensures a secure fit for the roof rack.
Step 3: Identify Mounting Points
Locate the factory-installed mounting points on your SUV’s roof, which are often found along the side rails or in designated areas. Consult your owner’s manual for specific guidelines related to your model.
Step 4: Attach the Roof Rack Crossbars
Begin by placing the crossbars onto the mounting points. Align them according to the recommended width stated in your roof rack instructions. Make sure they are evenly spaced to provide balanced support.
Step 5: Secure the Crossbars
Using the included hardware, secure the crossbars to your SUV’s mounting points. Tighten the bolts with your ratchet, ensuring they are snug but not overtightened, which could damage the roof or the rack itself.
Step 6: Verify Alignment
After securing the crossbars, check their alignment. Use a level to confirm that they are straight across the roof. Adjust as necessary by loosening the bolts and repositioning the bars.
Step 7: Install Additional Accessories
If your roof rack kit includes additional accessories, such as bike or kayak holders, now is the time to install them. Follow the specific instructions provided for each accessory to ensure proper installation.
Step 8: Final Check
Once everything is installed, perform a thorough inspection. Double-check that all bolts are tight and that the roof rack is securely in place. Give it a gentle shake to confirm its stability.
Step 9: Load Tests
Before heading out with heavy loads, test the roof rack by placing lighter items on it. Ensure that it holds securely and does not show any signs of instability.
Following these steps will ensure a proper installation of your roof rack, making your SUV ready for adventure.
Tips for Securing and Maintaining Your Roof Rack Setup
To ensure your roof rack is secure and functioning properly, start by carefully following the manufacturer’s installation instructions. Make sure all parts are tightly fastened, and double-check that the rack is level and evenly aligned on the roof of your Toyota SUV.
Regularly inspect the roof rack for any signs of wear and tear. Look for rust, loose bolts, or damaged components that could compromise its integrity. Cleaning the rack periodically will also help maintain its appearance and prevent dirt buildup that may affect performance.
When loading items onto the roof rack, ensure they are evenly distributed to avoid putting unnecessary strain on one side. Use appropriate tie-downs or straps to secure your load, preventing it from shifting or sliding during transit.
Consider using a wind deflector to minimize noise and wind resistance while driving. This accessory can enhance the aerodynamics of your setup, contributing to better fuel efficiency and a quieter ride.
During extreme weather conditions, check the roof rack more frequently to ensure that it remains secure. Ice, snow, or heavy rain can impact both the roof rack and its load, so be vigilant in assessing its condition.
For long-term durability, apply rust-proof coatings to metal components and store the rack indoors when not in use. This practice will protect the roof rack from the elements and prolong its lifespan.


