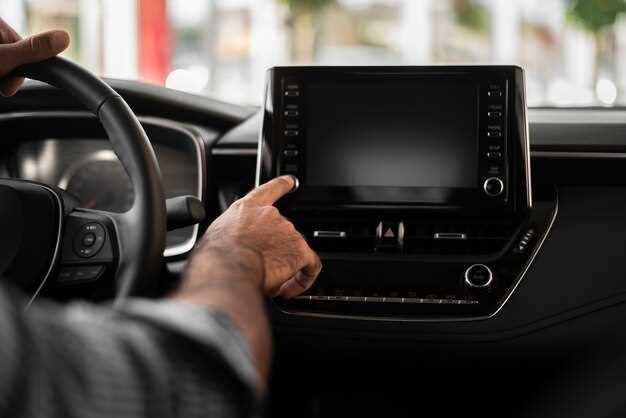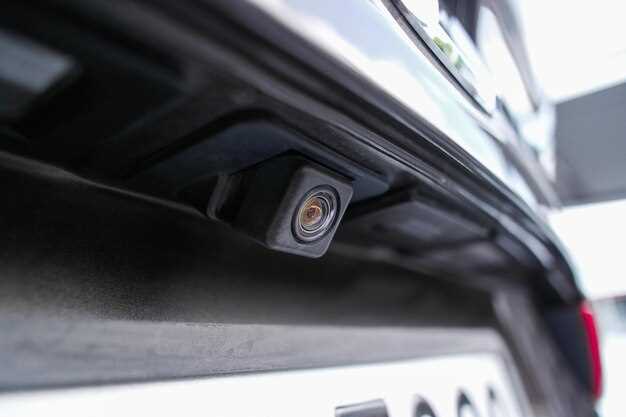
In today’s fast-paced world, having a dash cam in your vehicle is becoming increasingly essential. A reliable recording device can provide you with a crucial eyewitness account during accidents, help deter theft, and serve as a witness for any incidents that occur while you’re on the road. Whether you’re a daily commuter or an occasional road tripper, enhancing your Toyota with a cam can significantly improve your driving experience and provide peace of mind.
Installing a dash cam in your Toyota may seem daunting at first, but with the right tools and guidance, it can be a straightforward process. This guide aims to walk you through the essential steps, from selecting the perfect model to the final installation. You’ll learn about the various mounting options, the necessary wiring for optimal performance, and tips for ensuring that your recording device functions flawlessly.
By carefully following this guide, you can enjoy the myriad benefits that a dash cam offers. Not only will you be equipped with a high-quality recording of your journeys, but you’ll also gain valuable insights into driving patterns and safety features that your Toyota can offer. Dive in and discover how to effectively integrate a dash cam into your vehicle today!
Selecting the Right Dash Cam for Your Toyota Model

Choosing the right dash cam for your Toyota model is essential for ensuring optimal performance and compatibility. Start by identifying your specific Toyota model and its features, as dashboard designs and sizes can vary considerably across different vehicles.
First, consider the video quality. Look for a dash cam that records in at least 1080p Full HD, as this will provide clear footage in various lighting conditions. For higher clarity and detail, you might opt for models that offer 4K video resolution.
Next, assess the field of view. A wider lens, typically 170 degrees or more, can capture more of the surrounding area, which is crucial for documenting incidents. However, ensure that the lens does not distort the image, as this can affect the accuracy of the footage.
Storage capacity is another critical aspect. Choose a dash cam that supports larger microSD cards, allowing for extended recording times. Some dash cams come with loop recording features, automatically overwriting older files once the storage limit is reached. This ensures continuous recording without the need for constant manual management.
Additionally, consider the mounting options available for your Toyota. Dash cams can be mounted on the windshield, rearview mirror, or GPS mounts. Look for models that offer secure and stable mounting solutions, minimizing vibrations and movement during driving.
Finally, explore additional features such as GPS tracking, impact sensors, and Wi-Fi connectivity. GPS tracking helps to log your route and speed, while impact sensors can automatically save footage upon detecting a collision. Wi-Fi allows for easy footage transfer to your mobile devices, enhancing convenience in accessing and sharing videos.
By carefully considering these factors, you can select a dash cam that not only meets your needs but also integrates seamlessly into your Toyota, providing peace of mind for every journey.
Step-by-Step Installation Process for Your Dash Cam

Installing a dash cam in your Toyota can enhance your driving experience by providing valuable recording capabilities in case of accidents or incidents. Follow these steps to ensure a successful installation.
1. Choose the Right Location: Begin by selecting an appropriate location for your dash cam. The optimal spot is usually behind the rearview mirror, as this position minimizes obstruction of your view while allowing for a clear recording of the road ahead.
2. Gather Necessary Tools: Before starting the installation, gather the tools you will need. Common items include a clean cloth for wiping surfaces, zip ties for securing cables, and possibly a fuse tap if you plan to hardwire the cam.
3. Clean the Windshield: Use the clean cloth to wipe the area where you will mount the cam. Make sure there are no dust or smudges, as this can affect the adhesive and recording quality.
4. Mount the Dash Cam: Remove the backing from the adhesive pad of the dash cam. Firmly press the camera against the windshield in the chosen location. Ensure it is level and securely attached.
5. Route the Power Cable: Plug the power cable into the dash cam and begin routing it towards the power source. Tuck the cable under the headliner and down the A-pillar to keep it out of the way. Make sure it doesn’t interfere with any airbags or driving controls.
6. Connect to Power Source: If using a car charger, plug it into the vehicle’s power outlet. Alternatively, if you opted for a hardwired installation, connect the cables to the fuse box using a fuse tap. Ensure all connections are secure to maintain proper functionality.
7. Test the Dash Cam: Before completing the installation, turn on your vehicle and check if the dash cam powers up. Ensure that it is recording properly and that the footage looks clear. Adjust the angle if necessary.
8. Secure Excess Cabling: Use zip ties or adhesive clips to secure any excess cable to prevent it from dangling. This will ensure a clean and safe installation.
9. Final Checks: Perform a final check on the installation, confirming that the cam is stable and the view is unobstructed. Double-check the placement and recording settings to ensure everything is set up correctly.
By following these steps, your dash cam will be ready to provide reliable recording when you hit the road in your Toyota.
Configuring Settings and Best Practices for Recording
Once you have successfully installed your dash cam in your Toyota, it’s essential to configure the settings for optimal recording. Proper setup ensures that you capture high-quality footage when it matters most.
Here are key settings to consider:
- Resolution: Choose the highest resolution available (e.g., 1080p or 4K) for clearer images. Higher resolution provides better detail, especially during incidents.
- Frame Rate: Select a frame rate of at least 30fps for smooth playback. Higher frame rates (e.g., 60fps) can be advantageous for capturing fast-moving events.
- Loop Recording: Enable loop recording to continuously overwrite older footage. This ensures that you always have recent recordings available without needing to manually delete files.
- Impact Sensitivity: Configure the G-sensor sensitivity to automatically save footage in the event of a collision. Higher sensitivity means it will capture minor bumps as well, so adjust according to your preference.
- Audio Recording: Decide whether to enable audio recording. While sound can provide context during incidents, ensure you comply with local laws regarding audio surveillance.
In addition to the settings, following best practices for recording ensures effective and reliable operation:
- Regular Maintenance: Check the camera monthly for firmware updates to improve functionality and security.
- Storage Management: Use a high-quality, high-capacity microSD card. Regularly format the card to prevent file corruption and ensure proper recording.
- Aim Properly: Position your dash cam to capture views of the road and your surroundings. Test the angle before finalizing the installation.
- Check the Date and Time: Ensure that the date and time settings are accurate. This information is critical for establishing the timeline during incidents.
- Review Footage: Periodically review recorded footage to familiarize yourself with the operation of the dash cam and identify any necessary changes.
By configuring your dash cam settings effectively and adhering to best practices, you enhance your vehicle’s safety and create reliable recordings that can protect you in case of an incident.


